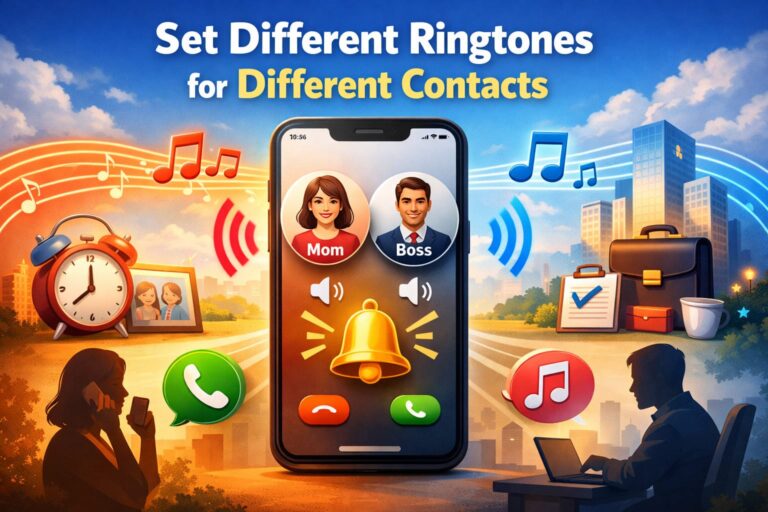
In a world full of constant notifications, calls, and digital noise, recognizing who’s calling without looking at your phone is a surprisingly powerful skill. That’s where custom contact ringtones come in. By assigning different ringtones to different contacts, you can instantly identify whether a call is from family, friends, or work—purely by sound.
This comprehensive tutorial will walk you through how to set specific ringtones for individual contacts on both Android and iPhone, explain why it matters for productivity and stress reduction, share creative ideas, and help you troubleshoot common problems. Whether you’re a beginner or an advanced smartphone user, this guide has you covered.
Why Caller Identification by Sound Matters
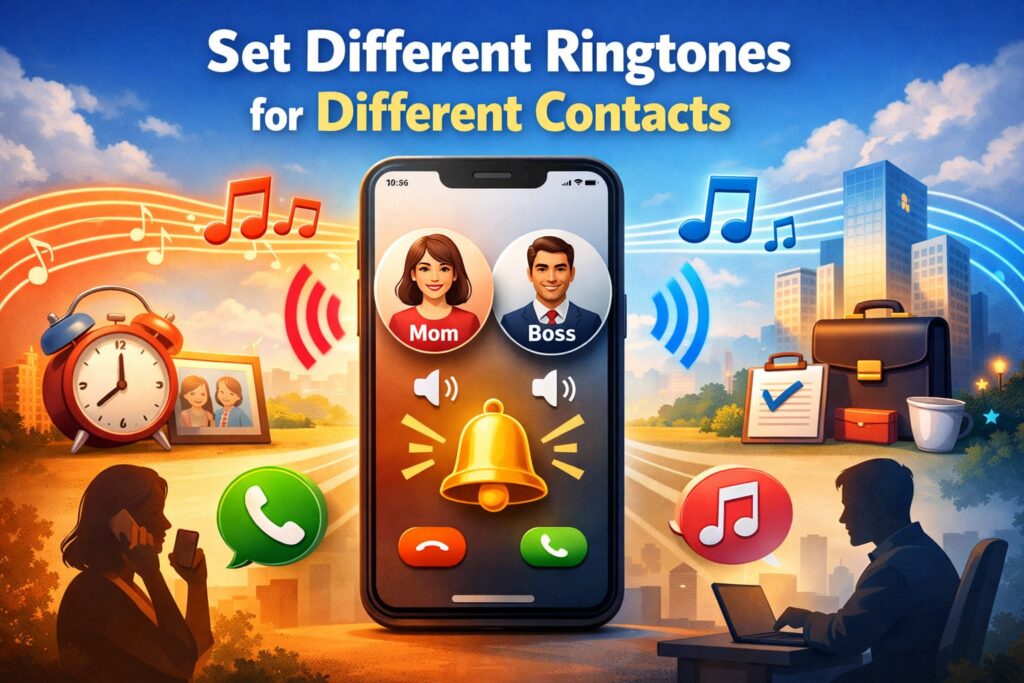
Caller Identification by Sound is exactly what it sounds like—knowing who’s calling just by hearing your phone ring. Instead of stopping what you’re doing to check your screen, your brain instantly connects a sound with a person or group.
Key Benefits
- Reduced screen time – No need to check your phone for every call
- Faster decision-making – Decide whether to answer instantly
- Lower stress levels – Avoid anxiety caused by unexpected calls
- Improved productivity – Focus better during work or study
For example:
- A soft nature sound might signal a call from family
- A minimalist tone could mean your boss is calling
- An upbeat melody instantly tells you it’s a close friend
This small customization can make your digital life significantly more organized.
How to Set a Specific Contact Ringtone on Android
Most Android devices follow a similar process, though the menu names may vary slightly depending on the brand (Samsung, Pixel, Xiaomi, etc.).
Standard Android Method (Works on Most Devices)
Follow these steps carefully:
- Open the Contacts app
- Select the contact you want to customize
- Tap Edit (pencil icon)
- Tap More or Ringtone
- Choose your desired ringtone
- Tap Save
Navigation Path (Example):
Contacts App > Select Contact > Edit > Ringtone > Save
That’s it! Your Android phone will now play a unique ringtone when that contact calls.
Samsung Galaxy (One UI) Specific Steps
Samsung devices running One UI have a slightly different layout:
- Open Contacts
- Choose a contact
- Tap Edit
- Tap View more
- Select Ringtone
- Choose a ringtone and tap Save
Samsung allows both system ringtones and custom MP3 files stored on your device.
Google Pixel Devices
Pixel phones offer one of the cleanest Android experiences:
- Open Contacts
- Select a contact
- Tap the three-dot menu
- Tap Set ringtone
- Choose a sound and save
Pixel devices support WAV and MP3 formats natively.
How to Assign a Ringtone to a Contact on iPhone (iOS)
Apple’s iOS also makes it easy to assign a custom caller ID sound, although the ringtone must already be available on your device.
Step-by-Step iPhone Guide
- Open the Contacts app
- Select the desired contact
- Tap Edit (top-right corner)
- Tap Ringtone
- Choose a ringtone
- Tap Done, then Done again
Navigation Path:
Contacts > Select Contact > Edit > Ringtone > Done
Your iPhone will now play that ringtone whenever the selected contact calls.
Important iPhone Notes
- iOS ringtones must be 30 seconds or shorter
- Supported format: .m4r
- Custom ringtones must be synced via Finder, iTunes, or a ringtone tool
Creative Ringtone Ideas for Different Contacts
Assigning ringtones becomes even more fun when you use themes. Here are some creative and practical ideas:
Family
- Nature sounds (birds, wind chimes)
- Soft instrumental music
- Calm piano melodies
Why: Warm, calming sounds create emotional comfort.
Work / Boss
- Minimalist tones
- Soft digital beeps
- Low-volume alerts
Why: Professional and non-distracting.
Friends
- Upbeat pop intros
- Fun electronic sounds
- Light hip-hop loops
Why: Instantly recognizable and energizing.
Important Contacts
- Short alert tones
- Unique high-priority sounds
Why: Ensures you never miss critical calls.
Customization Tip: Create a Signature 10-Second Ringtone
One of the best ways to personalize your phone is by creating a short signature clip—for example, a 10-second section from a favorite song or sound.
How to Do It
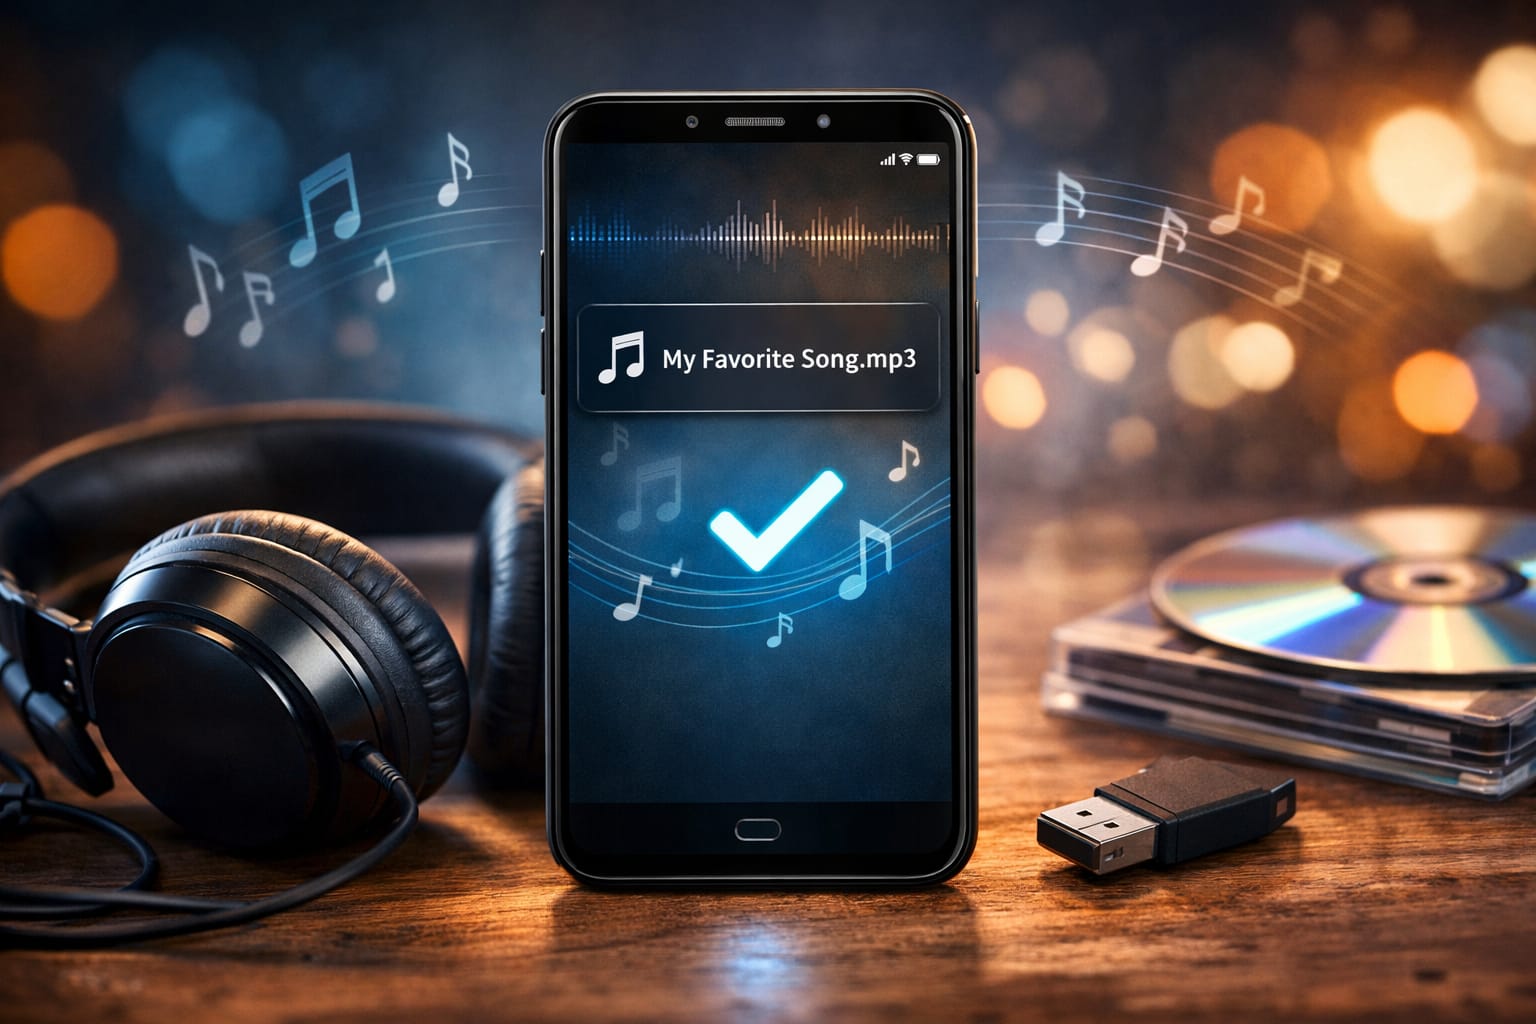
- Choose a high-quality MP3 file
- Trim the best 10 seconds (chorus or intro works best)
- Save and assign it as a contact ringtone
You can use an MP3 cutter tool (such as the one available on Ringtonehub9.com) to easily trim audio files without installing extra software. Short clips work best for quick recognition and reduced annoyance.
Troubleshooting Common Ringtone Issues
Even though the process is simple, users sometimes face issues. Here’s how to fix them.
Problem 1: Custom Ringtone Not Saving
Possible Causes:
- File format not supported
- Ringtone file too long
- Permission issues
Solution:
- Use MP3 or WAV for Android
- Use M4R (≤30 seconds) for iPhone
- Re-save the contact and restart your phone
Problem 2: File Format Not Supported
Solution:
- Convert the file to:
- MP3/WAV for Android
- M4R for iPhone
Problem 3: Default Ringtone Plays Instead
Solution:
- Ensure the ringtone is set inside the contact, not just in Settings > Sounds
- Check dual-SIM settings (especially on Android)
Problem 4: Ringtone Not Showing in List
Solution:
- Place the file in the Ringtones folder (Android)
- Re-sync the ringtone to iPhone via Finder/iTunes
Best Practices for Custom Caller ID Sounds
- Keep ringtones short and distinct
- Avoid extremely loud or jarring sounds
- Test the ringtone by calling from another phone
- Use consistent themes for easier recognition
Final Thoughts
Setting different ringtones for different contacts might seem like a small tweak, but it delivers big benefits. From better productivity and reduced screen time to improved mental clarity, custom contact ringtones help you stay in control of your digital life.