For years, setting a custom ringtone on iPhone felt unnecessarily complicated. Apple users had to deal with iTunes, cables, file conversions, and sometimes even a full computer setup just to hear their favorite song when someone called. That frustration became a common complaint across iPhone communities.
The good news? In 2026, you no longer need iTunes or a computer at all.
Apple has quietly made it possible to create and set custom ringtones using only your iPhone—and the process is far easier than most people think.
How to Set Custom Ringtones on iPhone
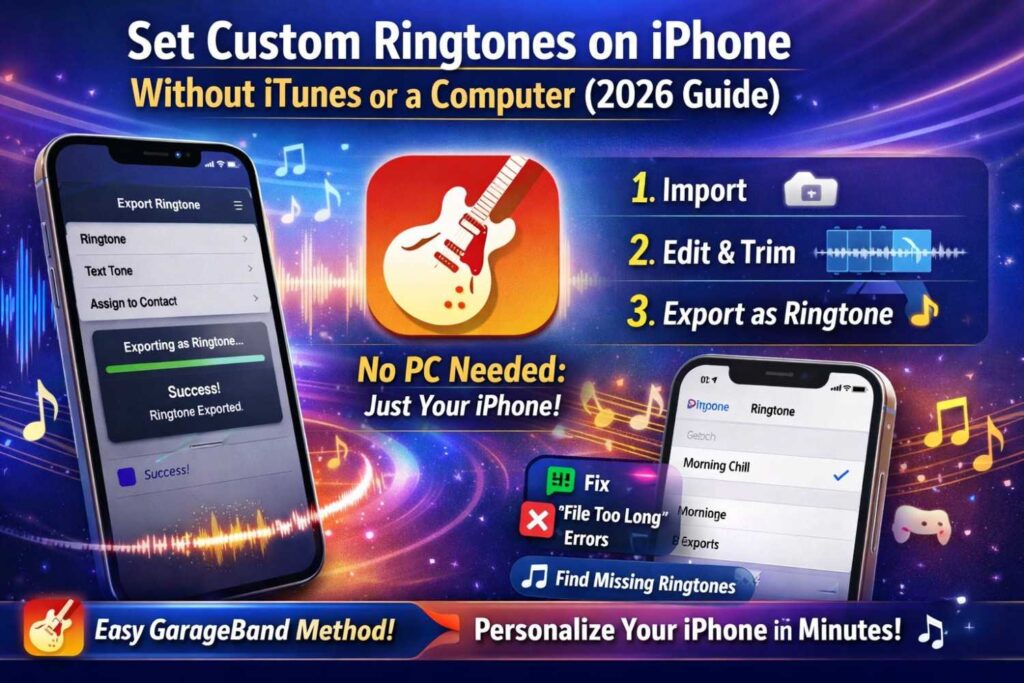
In this practical, step-by-step guide, you’ll learn how to set an iPhone ringtone without a computer, using Apple’s own free tools. If you follow this tutorial carefully, you’ll have your personalized ringtone ready in just a few minutes.
Pre-requisites: What You Need Before You Start
Before jumping into the steps, make sure you have the following ready on your iPhone:
1. Your Audio File
- Format: MP3, M4A, or WAV
- Location: Saved in the Files app, iCloud Drive, or On My iPhone
If your audio is currently on the web or another app, download it to the Files app first.
2. Trim the Audio (Very Important)
Apple only allows ringtones that are 30 seconds or shorter (sometimes up to 40 seconds, but 30 is safest).
To prepare your clip:
- Use an MP3 Cutter or audio trimming tool
- For example, tools like the one on Ringtonehub9.com can help you:
- Cut the exact 20–30 second portion you want
- Maintain high audio quality
- Avoid “File too long” errors later
Save the trimmed audio back into your Files app.
3. Install GarageBand
- Open the App Store
- Search for GarageBand
- Download it (it’s free and made by Apple)
This app is the key to creating an iPhone ringtone without iTunes.
The GarageBand Method (Most Effective & Recommended)
This is the most secure, native, and reliable method to set a custom ringtone on iPhone in 2026. No third-party access, no ads, and no hidden permissions.
Step 1: Open GarageBand and Create a New Project
- Launch GarageBand
- If you see “Recents,” tap + (Create New Song)
- Choose Audio Recorder
- Select Voice (any option works, but Voice is simplest)
You are now inside a new project workspace.
Step 2: Switch to Tracks View
- Tap the Tracks icon (looks like stacked lines) in the top-left corner
- This opens the timeline editor, where you can import audio
Step 3: Import Your Audio File
- Tap the Loop icon (top-right corner)
- Select the Files tab
- Tap Browse items from the Files app
- Locate your trimmed audio file
- Tap and hold, then drag it into the timeline
Your audio will now appear as a waveform.
Step 4: Trim and Adjust the Audio (Critical Step)
Even if your file is already trimmed, double-check:
- Drag the edges of the waveform to ensure it’s under 30 seconds
- Remove silence from the beginning or end
- Zoom in for precise trimming if needed
Tip: The ringtone usually sounds best when it starts strong—avoid long intros.
Step 5: Save the Project
- Tap the down arrow (top-left)
- Choose My Songs
GarageBand will automatically save your project.
Step 6: Export as Ringtone
This is where the magic happens.
- In My Songs, locate your project
- Tap and hold on it
- Select Share
- Choose Ringtone
- Name your ringtone (keep it short and recognizable)
- Tap Export
After exporting, GarageBand will ask if you want to use it as a ringtone immediately. You can choose Use sound as… Ringtone, or do it manually later.
Congratulations! You’ve just created an iPhone ringtone without a computer or iTunes.
Method 2: Using Third-Party Ringtone Apps (Brief Overview)
There are many apps in the App Store labeled as Ringtone Maker or Ringtone Creator. These apps usually:
- Allow audio trimming
- Export through GarageBand
- Or require extra permissions
Why GarageBand Is Better
- Made by Apple
- No privacy risks
- No ads or watermarks
- Works offline
- Fully supported in iOS (2026)
Third-party apps may be helpful for cutting audio, but GarageBand remains the safest and most reliable solution for setting the ringtone.
Troubleshooting Common Problems
Even with the right steps, some users face small issues. Here’s how to fix them.
Problem 1: “File Too Long” Error
Cause: Audio exceeds Apple’s ringtone limit
Fix:
- Ensure the clip is 30 seconds or less
- Trim again inside GarageBand if needed
Problem 2: Ringtone Not Appearing in Settings
Cause: Export didn’t complete properly
Fix:
- Re-export using Share > Ringtone
- Make sure export confirmation appears
Problem 3: GarageBand Can’t Find the Audio File
Cause: File not saved locally
Fix:
- Move the file to On My iPhone > GarageBand File Transfer
- Or ensure it’s available offline in iCloud
Problem 4: Low Volume Ringtone
Cause: Audio levels too low
Fix:
- Normalize or boost audio before importing
- Avoid very quiet source files
The Final Step: Set the Ringtone Manually
If you didn’t select it immediately after export, here’s how to apply it:
- Open Settings
- Go to Sounds & Haptics
- Tap Ringtone
- Find your custom ringtone under Ringtones
- Select it
Your iPhone will now use your personalized sound for incoming calls.
Bonus Tips for Better Custom Ringtones
- Use instrumental or clean audio for professional results
- Avoid copyrighted music intros with long silence
- Shorter ringtones feel more responsive
- Name ringtones clearly (e.g., “Morning Chill” or “Classic Beat”)
Final Thoughts
Setting a custom ringtone on iPhone in 2026 no longer needs cables, computers, or iTunes headaches. With GarageBand, Apple has given users a powerful, native solution that works entirely on-device.